For people in older properties or looking to make their homes more energy-efficient, it is essential to have your loft insulated for a number of reasons, but so many of us think there are many different aspects of DIY we should never touch. However, it is completely possible to learn how to floorboard a loft and then insulate it, provided you have a certain level of expertise and know-how to keep the costs down.
Boarding a loft provides so many different benefits:
- You create loft flooring so you can start using the space for storage, which helps you declutter your home and create more home space. With the typical cost of a self-storage facility of a 200 square foot unit being £88 per week, £380 per month, and around £4,620 per year, you can save a huge amount of money by investing in loft insulation and boarding.
- It helps to reduce heat loss as it creates another barrier to heat, stopping it from escaping through the roof. This is also easy to achieve when you install loft insulation. When you have loft boarding installed, you can put loft insulation at the same time, bringing it up to the recommended standard by the government of 270mm, which could save you approximately £590 per year, keeping your home warmer in the winter and cooler in the summer.
- It can increase the value of your home as storage space in the UK is at a premium, and combined with the energy efficiency of a property, this can make a massive difference in the value of your home.
Let's show you everything you need to know to insulate and board your loft:
How to Board a Loft
First of all, make sure you have:
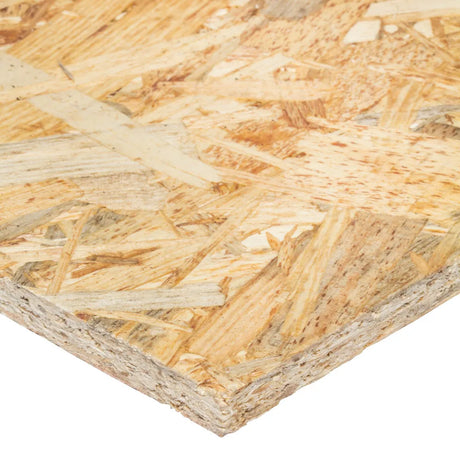
- Loft flooring boards, like our chipboard flooring
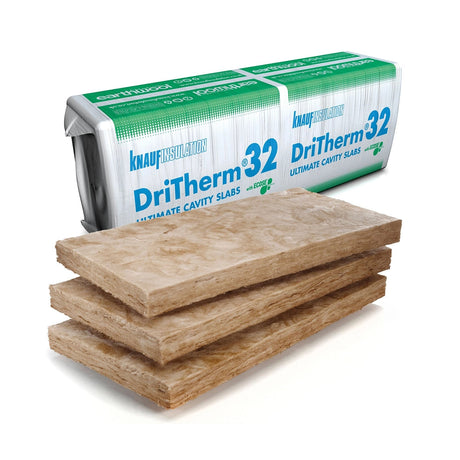
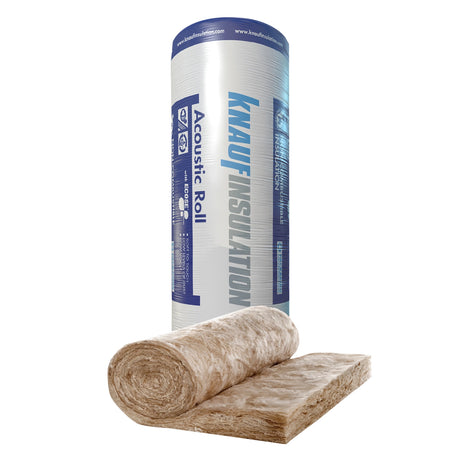
- Loft insulation, such as our Knauf loft roll and Isover loft roll
- PPE (overalls, goggles, gloves, dust masks, shoes, and knee pads)
- Tape measure
- Support
- Screwdriver and screws
- Hand saw
- Hammer
- A platform (which can be a piece of board).
Before you start, ensure you have all the safety gear to allow for easier movement. You also need to set up a temporary platform, which can be a piece of board placed across some or all of the ceiling joists. Make sure to remove the items you store in the loft to guarantee a clear path.
A Step-by-Step Guide to Boarding Your Loft
Step 1: Measure the Loft Area
This will allow you to calculate how many flooring boards you need. When getting floorboards, it is far better to use purpose-built loft boards as these will have tongue and groove fittings and are much easier to install, not to mention easier to get through the loft hatch.
Step 2: Ensuring You Have Insulation
Insulation is essential, which is why we will go into greater detail about this below.
Step 3: Add Supports (if Necessary)
When you are installing loft boards, make sure that you do not squash the loft insulation as this will reduce the overall effectiveness of the insulation, meaning higher energy bills, and can result in condensation, which over time will cause mould, dampness, and rot. If the insulation is above the roof joists, you need to raise the loft floor, which you can do by using supports.
Step 4: Laying the Loft Boards
Place the loft boards across the joists, ensuring the ends of the boards do not overhang the joist. If this happens, make sure you cut it to ensure it reaches the centre point of the joist, and this will allow you to fix the adjacent board to the joist securely. Lay the other boards in a staggered pattern to ensure the joins between each board do not match. Use approximately two or three screws per join and ensure the tongue and groove connections are flush.
Step 5: Add Infill (if Necessary)
If you see gaps along the staggered pattern, you can fill these with pieces of infill, which you will have to cut as you go along and if necessary use a hammer to tap these pieces into place and secure them with screws.
How to Insulate Your Loft
Before you start, make sure you do the following:
- Turn the electricity off before you touch any cables.
- Make sure the passage to the loft workspace is clear, removing obstacles and any obstructions.
- Make sure the loft floor is properly boarded as it will not support your weight if you intend to stand on plasterboard. If there's no flooring, stand on the ceiling joists.
- Leave a 75mm gap between the insulation and any flues, chimneys, or recessed lights, checking the manufacturer's instructions first.
- Have everything you need before you start, including materials and tools.
- Goggle up and make sure you wear all protective PPE (as mentioned above).
A Step-by-Step Guide to Insulating Your Loft
Step 1: Prepare the Insulation Rolls
- Trim larger width rolls (1140mm) to your desired width based on joist spacing.
- Use a panel saw to partially cut perforations while the rolls are still in their packaging.
Step 2: Start at the Loft Hatch
- Begin in one corner of the loft and work back to the loft hatch.
- Place a walk board at an angle to the adjacent joists, leaving a 25mm gap. Lay the first loft roll at the eaves with the silver side up for ventilation and condensation prevention.
Step 3: Unroll and Adjust the Insulation
- Continue unrolling across the loft floor area between the joists.
- After unrolling the first length, gently push the insulation against the joists without compressing it.
- Fluff the insulation gently with your hands to help it reach its full depth.
Step 4: Manage the Roll Changes
- If the roll is insufficient, start a new one and tightly join the joints.
- Ensure a distinct placement of insulation.
Step 5: Trim at the Beams
- Trim the insulation flush when reaching beams, using a sharp knife guided by two boards.
- Use giant scissors for intricate areas, such as around pipes.
Step 6: Trim for Expansive Areas
- Trim insulation to fit between joists for larger areas.
- Avoid packing or compressing insulation into awkward corners.
Step 7: Cover the Base Layer
- Lay insulation across the entire loft area.
- Keep doing this until the base layer is covered.
Step 8: Add the Second Layer
- Place the second layer across the top of the joists without cutting wide rolls into narrower ones.
- Avoid joins and gaps by laying the first roll of the top layer perpendicular to the base layer.
- Repeat until the second layer covers the entire area.
Looking After Your Loft
When it comes to loft insulation, looking after it will ensure longevity. Ensure you don't put weight on the installation by placing items on top of it, as this will reduce its efficiency over time. Keep it dry and periodically check on it to ensure that it is doing its job.
A Few Things to Remember About Loft Insulation
- When installing insulation, ensure the first role of the top layer is perpendicular to the base layer and repeat until the second layer covers the area.
- Insulate around loft caps over lights and avoid compressing the insulation to ensure it is effective.
- Create a raised boarded area above the insulation using products like Loft Legs to ensure storage and insulation effectiveness.
- Don't place insulation directly over downlights or block vents.
- At the very outset, ensure that you are checking for any signs of dampness or leaks. You can insulate a loft yourself if it's accessible and has no issues with dampness or condensation and is a relatively straightforward job, but be sure you follow the instructions as this will guarantee the insulation is installed properly. If you feel like you cannot do it, there is no shame in ever asking for professional help. After all, it's far better to get it right so you can reap the benefits.
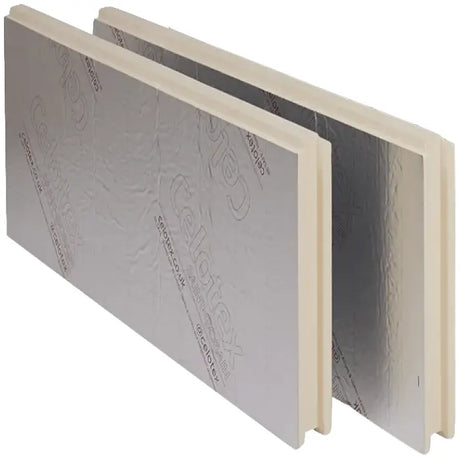
- When insulating between rafters the insulation should roughly be around 50mm to 175mm thick. Ensure you choose the right insulation depending on what you are doing. When you're insulating a roof, you can either do the "cold roof" option, which is protecting between and beneath the rafters, or "warm roof," which involves placing insulation between and above the rafters.
For the last point, Knauf Loft Roll can be invaluable, as it is a type of insulation material designed for use in cold lofts where pitched roofs are insulated at ceiling level, and the Isover Loft Roll is suitable for use in both cold and warm insulation applications.
Conclusion
If you are embarking on a loft insulation project or you are consulting with professionals, learning how to insulate your loft effectively is going to make for an extra bit of breathing space in the home, and the added insulation will ensure that you keep those energy bills down.
According to the Energy Savings Trust, loft insulation can have a 40-year lifespan if installed correctly, so there's never been a better time to invest in loft insulation to benefit your home and your bank balance!


