Securing chipboard flooring correctly represents a critical factor in achieving long-term performance, with appropriate fixing methods preventing the squeaks, movement, and structural issues that often develop in poorly installed systems. Understanding the specific requirements for different applications ensures optimal results whether working with new installations or remedying issues in existing floors.
For new installations on standard domestic timber joists, a systematic approach delivers optimal results. Begin by ensuring joists are level, correctly spaced (typically 400-450mm centres for 18mm chipboard, 600mm for 22mm), and structurally sound, with any defects remedied before flooring installation. Apply a continuous bead of wood-specific PVA or panel adhesive along joist tops, using D3 or D4 grade adhesive (water-resistant formulations) rather than standard PVA for enhanced moisture resistance. Position boards with the printed face upward and expansion gaps maintained at all perimeters (minimum 10mm against walls, 2mm between board joints). The fixing pattern requires particular attention, with screws positioned at maximum 200-250mm centres along joists, and critical minimum distances from board edges (typically 25mm) to prevent edge splitting. High-quality self-tapping wood screws with countersunk heads provide superior holding power compared to standard wood screws, with length selection ensuring minimum 2.5 times board thickness penetration into the supporting joists. For 18mm chipboard, 50mm screws typically provide optimal results, while 22mm boards benefit from 60mm fixings. This comprehensive approach creates a solid, movement-free foundation for subsequent floor finishes.
Remedial fixing of loose or squeaking existing chipboard flooring presents different challenges requiring tailored approaches. Begin by identifying specific problem areas through systematic testing, walking across the floor while marking locations where movement or noise occurs. For accessible areas where boards remain generally sound but have developed minor movement, additional screws placed directly into joists often resolve issues, ideally using slightly oversized pilots to allow proper countersinking without board surface damage. The challenge frequently involves locating concealed joists under existing flooring, with stud finders or careful measurement from exposed sections providing guidance. For more substantial problems involving lifted board edges or significant movement, comprehensive remediation requires removing any floor coverings to access the chipboard surface directly. Once exposed, countersink new screws at appropriate intervals into underlying joists, combined with injectable expanding PU (polyurethane) adhesive systems specifically designed for floor repairs. Products like Everbuild Stixall or Gorilla Construction Adhesive, applied through drilled access holes, expand beneath the boards to fill voids and bond loose sections to supporting structures. For severe cases where boards have become damaged or substantially detached, sectional replacement provides the only reliable solution, removing affected areas back to joist centres and installing new matching-thickness chipboard with proper fixing methods.
Edge support considerations prove particularly important in both new installations and remedial work. Chipboard flooring requires solid bearing under all edges, with non-joist-supported edges requiring additional noggings or blocking between joists. For tongue-and-groove boards, the interlocking profile provides some load distribution between adjacent boards, but for square-edged chipboard, complete edge support becomes essential to prevent differential movement under load. When performing remedial work, adding additional noggings beneath problematic edges often resolves issues more effectively than simple surface screw addition. For areas around service penetrations or room perimeters, where board edges might otherwise remain unsupported, additional framing prevents the localised deflection that often leads to floor covering damage or trips hazards. This attention to edge support particularly benefits later tile installation, where any substrate movement invariably leads to cracked grout or loosened tiles.
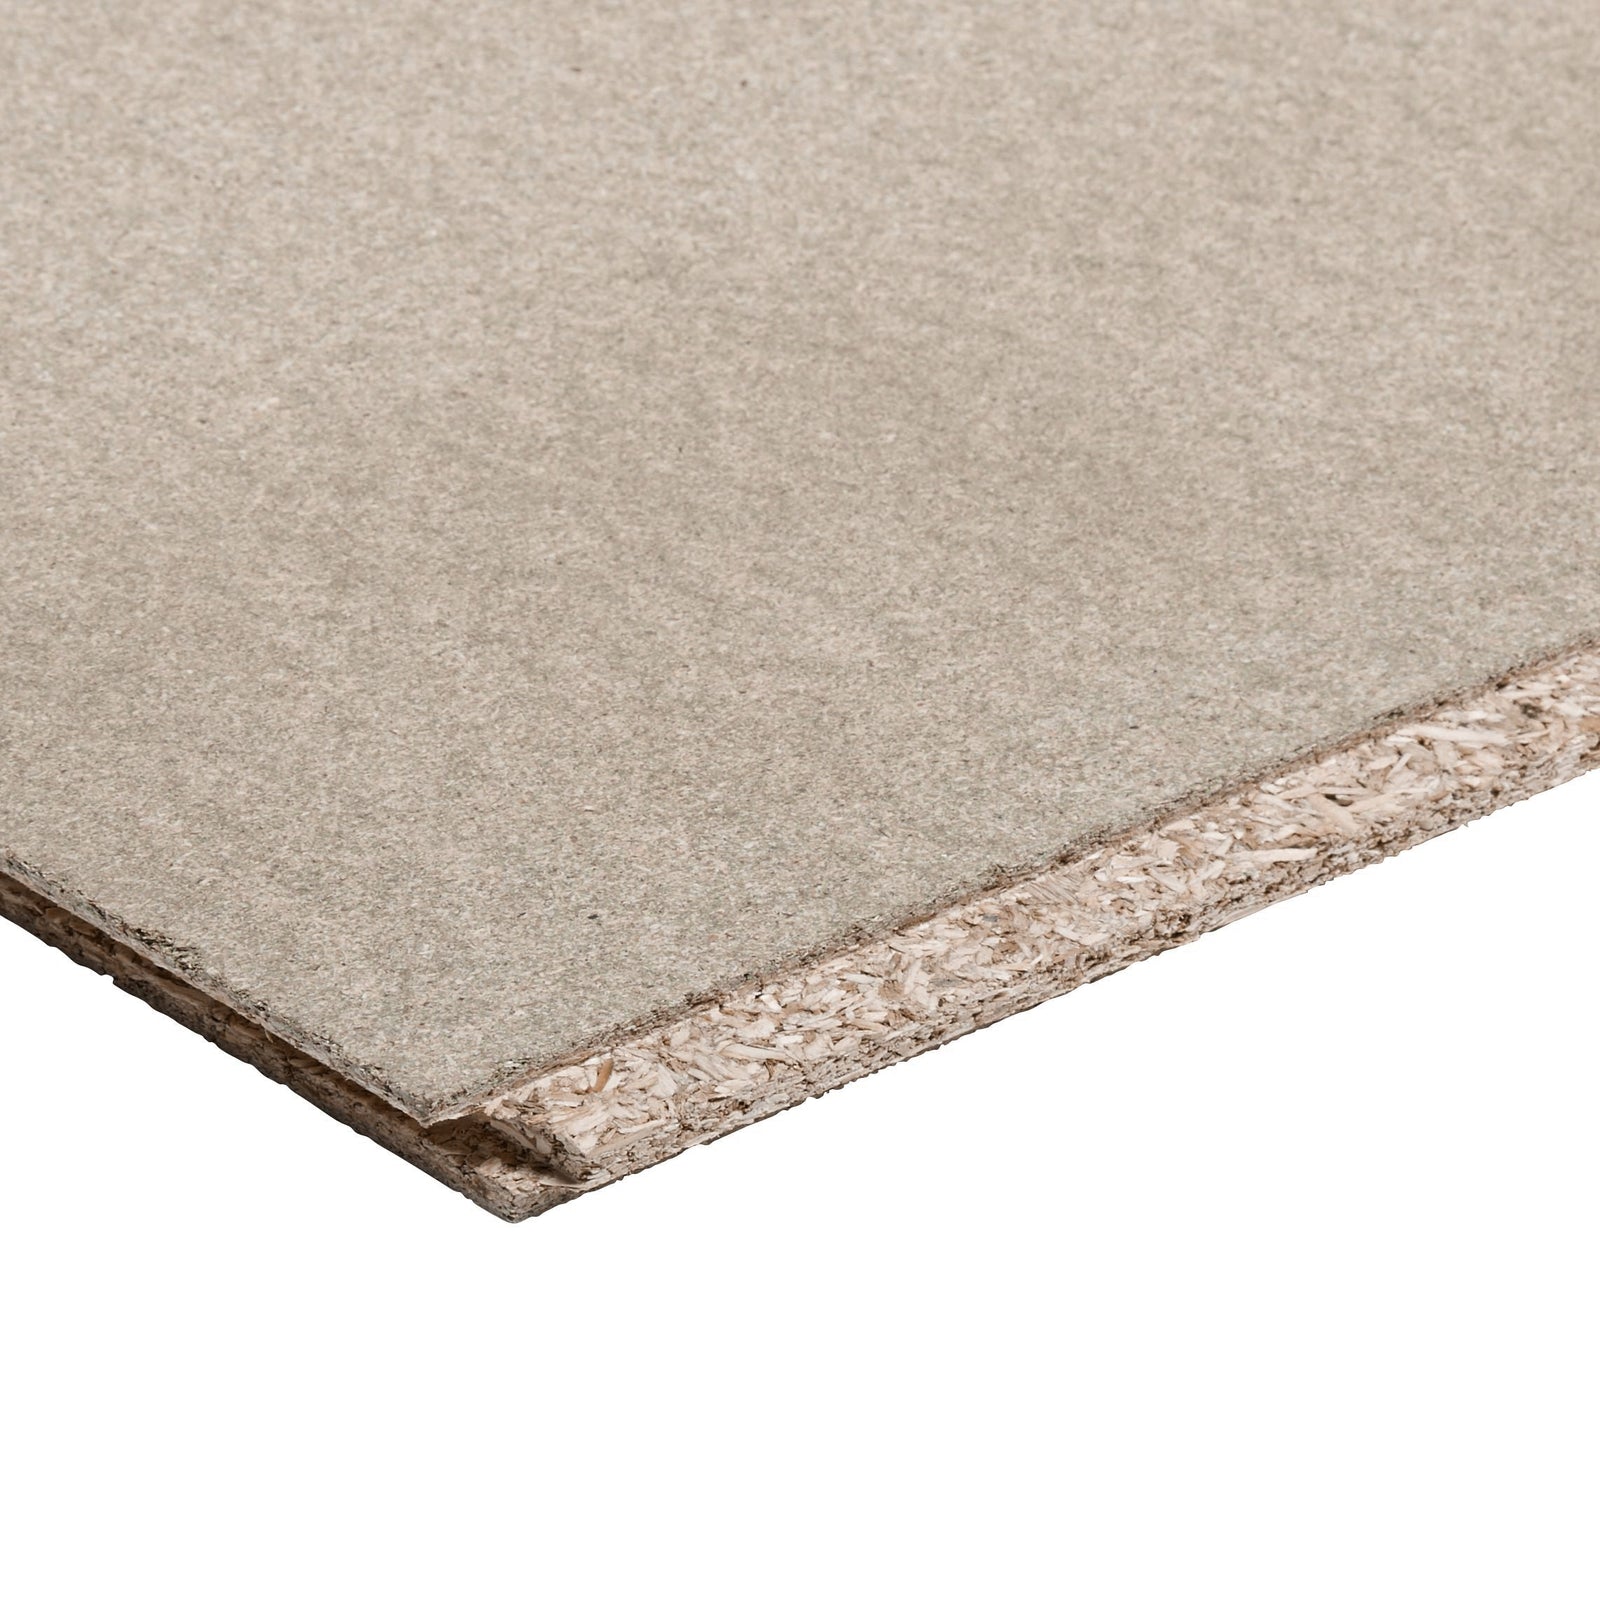
Fixing techniques require adjustment for different chipboard variants. Standard P5 moisture-resistant chipboard (the green-tinted boards commonly used for domestic flooring) accepts standard wood screws effectively, though pre-drilling pilot holes prevents edge splitting near corners or joints. Higher-density P7 structural grades benefit from slightly larger pilot holes preventing the splitting that can occur when driving fixings into these denser materials. Boards with tongue-and-groove profiles require careful fixing through the tongue at appropriate angles (typically 45 degrees) rather than vertically through the walking surface, maintaining the integrity of the joint system while securing boards effectively. Some manufacturers provide specific fixing guidance for their particular products, including recommended screw types, optimal spacing patterns, and edge distance requirements. Following these product-specific recommendations rather than generic guidance often prevents problems, particularly with specialised high-performance board types.
Power tool selection significantly influences fixing quality, particularly for larger installations. While basic screwdrivers suffice for small repairs, substantial installations benefit from quality power tools matched to the specific application. Cordless impact drivers with adjustable torque settings prevent the common problem of over-driving screws, where excessive force drives fixings below the board surface, potentially weakening the connection and damaging the chipboard structure. Combination drill-drivers with separate clutch settings allow pilot hole drilling followed by controlled screw insertion without changing tools. For remedial work in confined spaces, right-angle attachments or compact driver tools access restricted areas where standard tools cannot operate effectively. This appropriate tool selection not only speeds installation but significantly enhances quality, with properly driven fixings providing superior long-term performance compared to incorrectly seated alternatives.
Seasonal movement accommodation requires attention during both installation and remedial work. Chipboard, like all wood-based panels, responds to environmental humidity changes with dimensional movement – expanding in humid conditions and contracting during heating seasons when indoor air becomes drier. Proper expansion gaps at perimeters (typically 10mm minimum for domestic rooms, larger for more extensive areas) allow this natural movement without creating stresses that could lift boards or cause fixing failures. When performing remedial work, ensure these expansion provisions remain intact, never fixing boards directly against rigid structures like walls or staircases. For larger open-plan areas exceeding 7-8 metres in either dimension, intermediate expansion gaps with appropriate cover strips prevent the cumulative movement that could otherwise compromise fixing integrity. This movement accommodation proves particularly important when installing over underfloor heating systems, where the cyclical temperature changes create additional movement stresses beyond normal seasonal variations.
Subfloor condition assessment should precede any fixing work, whether for new installations or remedial repairs. Ensure supporting joists provide sound, level fixing surfaces without significant warping, twisting, or degradation that could prevent proper board seating. Check joist moisture content ideally falls within 12-16% range, as excessively damp timber will continue moving as it dries, potentially loosening fixings or creating level issues. For suspended timber floors, verify adequate ventilation beneath (minimum 150mm clear air space with effective cross-ventilation through air bricks) preventing the moisture accumulation that could eventually compromise both joists and chipboard. When installing over existing floorboards, ensure they provide a sound, level substrate without excessive movement, ideally with boards running perpendicular to original floorboard direction for enhanced stability. Addressing these subfloor considerations before fixing chipboard prevents many common problems that might otherwise develop regardless of fixing quality.
Acoustic considerations increasingly influence fixing methods, particularly in multi-occupancy buildings where sound transmission concerns affect both compliance requirements and occupant comfort. Basic fixing methods focus on eliminating squeaks and movement that create airborne noise, but addressing structure-borne sound transmission requires additional measures. Resilient mounting systems using special acoustic battens with integral sound-absorbing strips provide separation between chipboard flooring and structural elements, reducing impact sound transmission to spaces below. When retrofitting acoustic improvements, specialized systems combining additional fixing with sound-absorbing underlays can enhance performance without complete floor replacement. These acoustic considerations often justify slightly higher initial investment in premium fixing systems and sound-reduction underlays, particularly for upper-floor installations where impact noise would otherwise transmit to living spaces below.
At DIY Building Supplies, we provide comprehensive guidance on appropriate fixing methods for chipboard flooring across various applications, with our technical team offering specific advice for your particular project requirements. Our range includes quality fixing products specifically designed for optimal chipboard installation, ensuring long-term performance without the squeaks and movement issues that often plague poorly installed systems.