If you've recently tackled a bathroom or kitchen renovation, chances are you've come across moisture resistant plasterboard. Perhaps you've just finished installing it and now you're wondering about the next step: adding insulation. Don't worry – whilst this might seem daunting if you're new to the topic, understanding how to properly insulate over this specialist board doesn't have to be complicated.
At DIY Building Supplies, we speak with customers every day who are navigating these decisions for the first time. This guide breaks down what you need to know about combining moisture resistant plasterboard with insulation, ensuring your walls stay warm and dry for years to come.
What Makes Moisture Resistant Plasterboard Different?
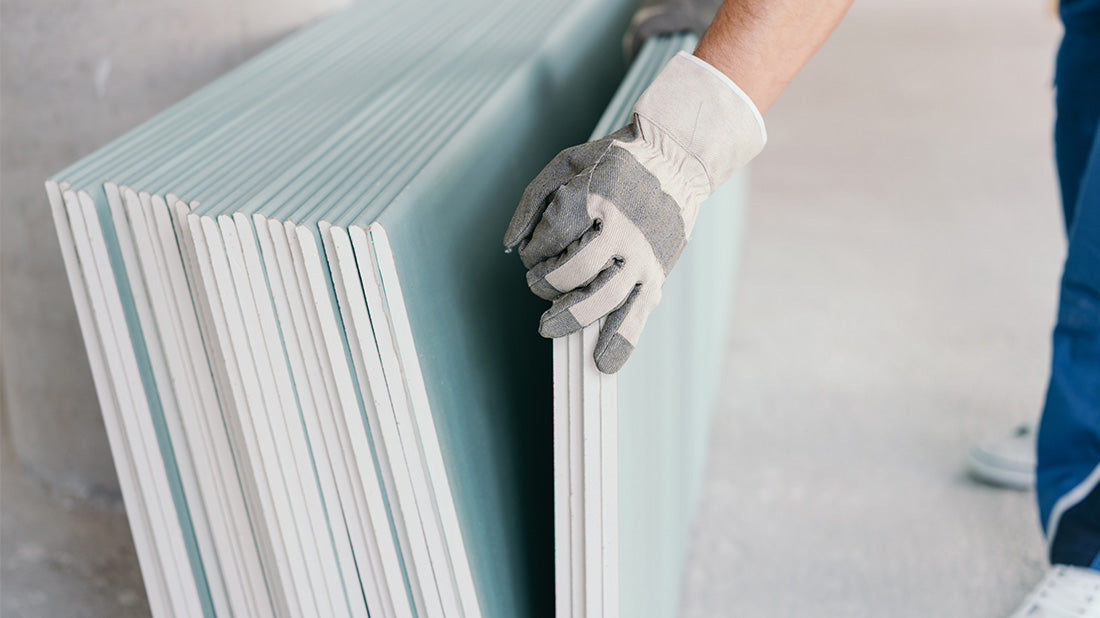
Before diving into insulation, let's understand what makes moisture resistant plasterboard special. Unlike standard plasterboard, this material is specifically designed for areas where moisture levels run high – think bathrooms, kitchens, and utility rooms. British manufacturers like British Gypsum and Knauf create these boards by adding water-repelling compounds into the gypsum core.
What does this mean in practice? The board can handle splashes, steam, and humidity that would cause regular plasterboard to deteriorate over time. You'll typically recognise it by its distinctive green or blue facing, though colours can vary between manufacturers. Common brands we stock include Gyproc and Siniat, both trusted names in the UK building industry.
The boards usually come in 12.5mm or 15mm thicknesses, and whilst they resist moisture brilliantly, they still maintain excellent fire resistance ratings. This combination of properties makes them ideal for protecting walls in moisture-prone areas whilst keeping your home safe.
Why Add Insulation?
You might wonder why insulation matters when you've already installed moisture resistant plasterboard. The truth is, even moisture-resistant boards don't provide much thermal insulation on their own. Adding proper insulation serves two crucial purposes: it keeps your home warm and reduces energy bills, whilst also helping to prevent condensation forming within your wall structure.
Here's the thing many people don't realise at first – warm air holds more moisture than cold air. When warm, moist air from your bathroom or kitchen hits a cold wall, condensation forms. By insulating properly, you keep the wall warmer, dramatically reducing the risk of hidden moisture problems developing inside your walls.
Understanding Vapour Control
Now we're getting to the slightly technical bit, but stay with me because this is important. When you add insulation over moisture resistant plasterboard, you need to think about vapour control. During winter, warm moisture-laden air inside your home naturally wants to move towards the colder outside air. If this moisture gets trapped within your wall, you've got a problem.
The solution? Vapour control layers. These specialist membranes act like one-way valves, controlling moisture movement through your walls. Companies like Klober and Pro Clima manufacture excellent vapour control products designed specifically for the UK climate.
Think of it like this: the vapour control layer sits on the warm side of your insulation (usually behind the plasterboard finish), stopping moisture from getting into the insulation where it could cause issues. It's not complicated to install, but getting it right makes all the difference.
Choosing Your Insulation
Right, let's talk about insulation options. When working with moisture resistant plasterboard, you've got several excellent choices, each with their own advantages.
Mineral Wool Insulation
Products from Rockwool and Knauf Insulation represent the traditional approach, and they work brilliantly with moisture resistant boards. These materials breathe naturally, allowing some moisture movement whilst providing excellent thermal performance. They're relatively forgiving to work with, making them ideal if you're new to insulation installation.
PIR Insulation Boards
Brands like Celotex and Kingspan offer rigid foam boards that deliver superior thermal performance in thinner profiles. If space is tight, these boards achieve excellent insulation values whilst taking up less room. They're less permeable to moisture than mineral wool, which means your vapour control layer becomes even more critical – but the thermal performance benefits are substantial.
Natural Alternatives
Increasingly popular are natural insulation materials from companies like Thermafleece. These sheep's wool or hemp-based products offer good thermal performance whilst naturally managing moisture fluctuations. They're an excellent choice if you're concerned about environmental impact whilst maintaining effective insulation.
At DIY Building Supplies, we stock all these options because different projects need different solutions. Our team can help you choose based on your specific situation, whether that's a compact ensuite bathroom or a large family kitchen.
Getting the Installation Right
Here's where theory meets practice. Installing insulation over moisture resistant plasterboard requires methodical approach, but it's entirely achievable if you follow the right steps.
Start with Preparation
Check your existing plasterboard thoroughly. It needs to be clean, dry, and properly secured. Any damaged areas should be repaired before you begin adding insulation. It might seem obvious, but starting with a sound base prevents problems later.
Install Your Vapour Control Layer
This step cannot be rushed. Your vapour control membrane needs continuous coverage across the entire wall surface. Pay special attention to joints – use proper sealing tape (Pro Clima makes excellent options) to ensure no gaps exist. Any pipes or cables penetrating the wall need careful sealing too.
Measure and Cut Carefully
Whether you're using rigid boards or flexible batts, accurate measurement matters enormously. Gaps between insulation pieces create cold spots, reducing overall performance. We've found that gaps larger than 2mm start causing noticeable thermal bridging issues. Take your time with this stage.
Fix Securely
The fixing method depends on your chosen insulation type. Mechanical fixings from manufacturers like SFS or Fischer work reliably, but choose fixings designed for insulation work – they minimise thermal bridging through their design. Follow manufacturer recommendations for fixing quantities and spacing.
Stagger Your Joints
If you're installing multiple insulation layers (which often makes sense), stagger the joints between layers. This simple technique dramatically reduces thermal bridging and improves overall performance.
Common Mistakes to Avoid
Having helped numerous customers through this process, we've seen a few recurring issues worth mentioning:
Skipping the Vapour Control Layer: Some people assume moisture resistant plasterboard alone provides adequate vapour control. It helps, but it's not designed to replace a proper vapour control membrane.
Compressed Insulation: Squashing insulation to fit into tight spaces reduces its effectiveness. If your insulation won't fit, choose a thinner specification that fits properly rather than forcing thicker material into insufficient space.
Incomplete Coverage: Leaving gaps around window reveals, pipe penetrations, or wall edges creates cold spots where condensation can form. Complete coverage matters.
Checking Your Work
Once installation is complete, consider having a thermal imaging survey done before applying final finishes. These surveys reveal any thermal bridging or installation issues whilst they're still easy to correct. For critical areas like bathrooms above living spaces, this verification step provides valuable peace of mind.
When to Seek Expert Advice
Whilst many insulation projects make excellent DIY undertakings, some situations benefit from professional input. If you're dealing with listed buildings, properties in conservation areas, or complex structural situations, consulting with building control or a specialist adviser makes sense. Our technical team at DIY Building Supplies can help identify when additional expertise might benefit your specific project.
Moving Forward with Confidence
Adding insulation over moisture resistant plasterboard needn't intimidate you. Armed with quality materials, proper preparation, and attention to detail, you can achieve professional results that keep your walls warm and dry for decades.
At DIY Building Supplies, we're passionate about helping customers succeed with their building projects. Whether you're planning a bathroom renovation, upgrading a kitchen, or tackling a utility room transformation, we provide both the materials and expertise needed to get the job done right. Our Nottingham-based team understands UK building requirements and climate challenges, ensuring the advice we provide works in real-world conditions.
Ready to start your insulation project? Visit us at diybuildingsupplies.co.uk or get in touch with our team. We'll help you select the right combination of moisture resistant plasterboard, insulation, and vapour control products for your specific needs, ensuring your investment delivers lasting warmth and protection.
Remember, every successful project starts with understanding the basics. Now you've got that foundation, you're well-equipped to create walls that perform brilliantly, whatever the weather throws at them.