When I first walked into my local builders merchant looking for wood to build a simple bookshelf, I was overwhelmed by the choices. Rough-sawn timber, planed timber, treated timber—the options seemed endless. That's when a helpful member of staff introduced me to PSE timber, and honestly, it changed everything about how I approach home projects.
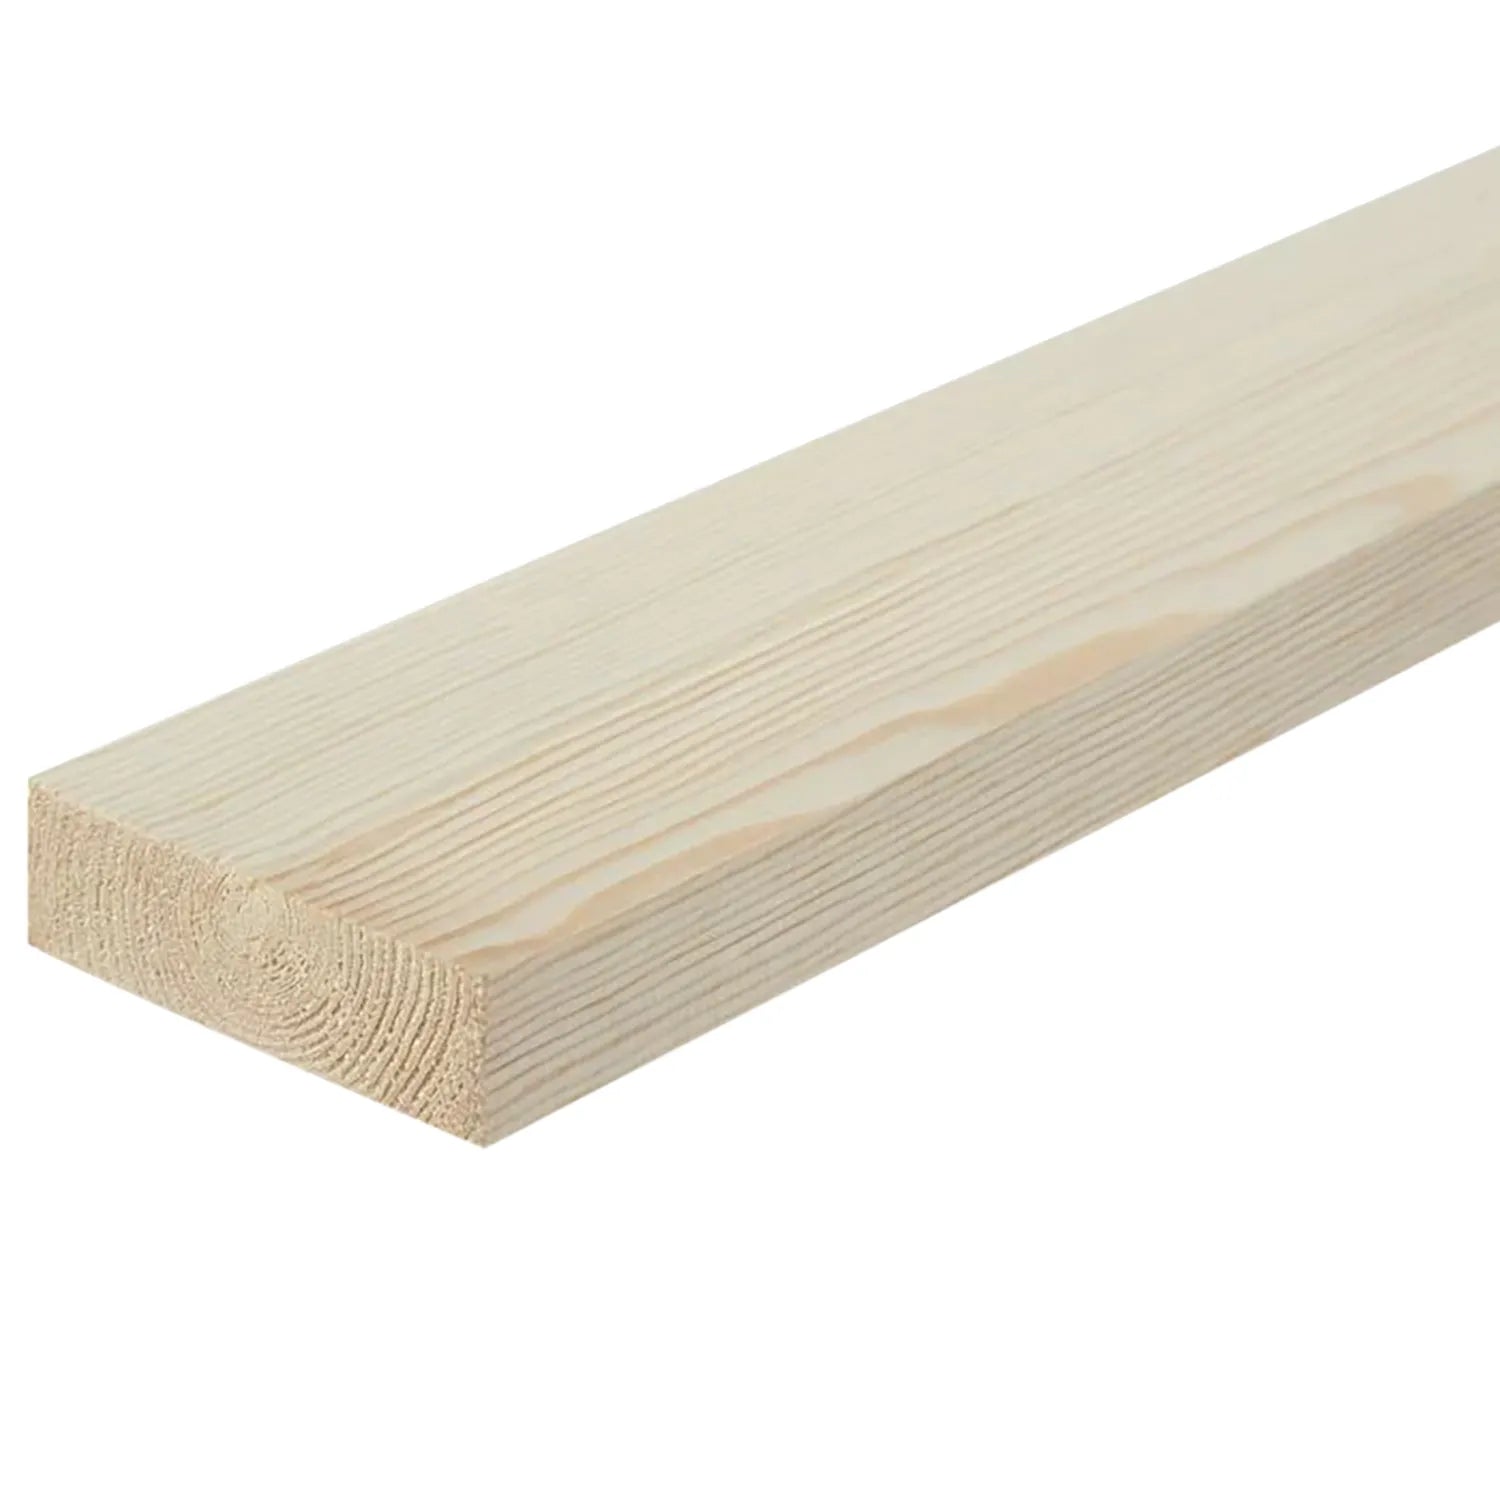
This material—which stands for Planed Square Edge—is exactly what it sounds like: softwood that's been precisely machined to create perfectly smooth, square edges on all four sides. What makes it special isn't just the finish, though. It's the fact that someone else has done all the tedious preparation work for you. No hours spent with a hand planer trying to get straight edges. No wonky measurements because your timber isn't truly square. It arrives ready to work with, which means you can focus on the creative part of your project rather than the prep work.
I've learned through trial and error (mostly error, if I'm honest) that the right material makes all the difference between a project that looks professionally made and one that screams "first attempt." This prepared timber sits in that sweet spot where it's accessible enough for beginners but delivers results that look far more sophisticated than your skill level might suggest.
Here are five projects I've either completed myself or watched friends tackle successfully using this wonderfully forgiving material. Each one taught me something new about working with wood, and more importantly, each one actually turned out well enough that I didn't have to pretend I meant for it to look that way.
Building a Window Seat with Hidden Storage
Why Window Seats Work Perfectly with PSE Timber
My first proper project with this material was a window seat for the bay window in our front room. We had this awkward space that was too small for furniture but too prominent to leave empty. I'd seen window seats in design magazines and assumed they were beyond my capabilities, but planed square edge timber made it surprisingly manageable.
The beauty of using this precisely prepared material for this project is that all your joints fit together properly from the start. When you're building a box frame to sit beneath cushions, you need those corners to be genuinely square, or the whole thing looks wonky. With rough timber, I would have spent hours trying to true up the edges. With quality timber from suppliers like Timberpride, the edges were already perfect.
Creating Practical Storage Solutions
The hidden storage aspect was the real win for our household. We designed the seat top to lift up on hinges, creating a massive storage cavity underneath. It's now home to everything from winter blankets to the children's art supplies. The smooth finish of the timber meant I didn't need to do extensive sanding before painting—just a light scuff with fine sandpaper and it was ready for primer.
One thing I learned: measure your space carefully before ordering timber. I assumed our bay window was symmetrical. It wasn't. Thank goodness I measured twice before making any cuts, or I'd have ended up with a window seat that fit perfectly on one side and had a gaping gap on the other.
Creating Floating Shelves That Actually Float
The Challenge of Truly Straight Shelves
Floating shelves sound simple until you try to make them yourself. The first time I attempted this project with rough timber, the shelves looked like they were actively trying to escape the wall. They tilted. They twisted. They definitely didn't float—they sagged.
Prepared timber transformed this project from frustrating to satisfying. The key to floating shelves that look genuinely suspended is having timber that's perfectly straight and flat. Any deviation becomes glaringly obvious once it's mounted on the wall. The precision machining means you're starting with straight, true pieces that will stay that way.
Achieving Professional-Looking Results
I built mine using a hidden bracket system—steel rods that slide into holes drilled into the timber and mount into the wall. Because the timber was already perfectly square, drilling those holes at precise angles was straightforward. The smooth finish also meant that when I applied danish oil to bring out the wood grain, it absorbed evenly rather than creating blotchy patches.
These shelves now hold a rotation of books, plants, and decorative objects in our living room. Every time someone asks if they're "real" floating shelves or if there are hidden brackets, I feel an entirely disproportionate sense of pride.
Constructing a Raised Planter for the Garden
Taking PSE Timber Outdoors
Moving outdoors opened up a whole new world of projects. I wanted to create a raised vegetable bed in our garden but was concerned about whether softwood would hold up to the elements. After speaking with the team at DIY Building Supplies, I learned that properly treated planed timber, when finished with appropriate preservative, performs brilliantly outdoors.
The raised planter project taught me about the practical benefits of working with dimensionally stable timber. When you're building a box that will be filled with soil and water, any movement or warping in the wood can cause gaps or structural issues. The consistent moisture content and precise machining meant my corners stayed tight and square even after the first few months of British weather.
Building for Durability and Function
I built the planter to about knee height, which is perfect for working without stooping. The sides used thicker prepared timber from British Softwoods, whilst the corner posts provided the structural strength needed to contain several hundred kilograms of soil. The smooth surfaces made assembly straightforward—screws went in cleanly without splitting the wood, and the joints fitted together snugly.
That first season, we grew tomatoes, courgettes, and an alarming quantity of lettuce. The planter has weathered beautifully, developing a silvery patina that I think looks rather distinguished. More importantly, it hasn't twisted, warped, or fallen apart despite being constantly exposed to moisture.
Making a Freestanding Room Divider
Creating Visual Separation with Style
When we converted our spare bedroom into a home office, we needed to create some visual separation from the exercise bike in the corner. A room divider seemed perfect, but I wanted something that looked intentional rather than like a desperate attempt to hide gym equipment.
This prepared material proved ideal for creating a geometric panel design that felt modern and architectural. I created a frame from thicker timber sections, then infilled it with a pattern of vertical and horizontal pieces at varying depths. The precision of the planed edges meant that even complex joinery looked clean and professional.
Working with Precision-Machined Timber
What I particularly appreciated was how forgiving this material is when you're working with multiple pieces that need to align. Because everything is machined to consistent dimensions, when you cut pieces to the same length, they actually are the same length. This sounds obvious, but when you're creating a repeating pattern, even small variations become visually jarring.
The divider now stands as a genuine design feature rather than just a practical solution. I left the timber natural and applied a clear matt varnish, which showcases the wood grain whilst protecting the surface. It's substantial enough to feel permanent but not actually attached to anything, so we can move it if we rearrange the room.
Building Bespoke Storage for an Alcove
Transforming Awkward Spaces into Assets
Perhaps the most transformative project I've completed was custom storage for the alcoves flanking our fireplace. These spaces are the bane of many British homes—awkwardly sized, rarely symmetrical, and seemingly designed to mock standardised furniture.
Creating fitted shelving and cupboard space turned these frustrating voids into genuinely useful storage. Planed square edge timber made this project accessible because I could work with precise measurements without worrying about material inconsistencies throwing everything off.
Planning and Executing Built-In Solutions
I designed a system with cupboards at the bottom for storing less attractive items, open shelving in the middle for books and display pieces, and a final shelf near the top for items we use less frequently. The smooth surfaces of the timber meant that when I applied paint to match our walls, it went on evenly and looked like built-in cabinetry rather than a DIY effort.
The project taught me the importance of proper planning. I created detailed drawings with all dimensions noted, then double-checked every measurement against the actual alcove before cutting any timber. This thoroughness paid off—everything fitted together properly, and the whole unit looks like it was always meant to be there.
Getting Started with Your Own Project
Building Confidence Through Quality Materials
Looking back at these projects, I'm struck by how much my confidence has grown since that first bewildering trip to the builders merchant. Working with prepared timber hasn't just made the physical work easier—it's made the whole process of planning and executing projects feel more achievable.
If you're considering your first project with planed square edge materials, my advice is straightforward: start with good quality timber from reputable suppliers like Timberpride or British Softwoods, measure everything twice (or three times—there's no shame in being thorough), and don't be afraid to ask questions. The team at DIY Building Supplies has been invaluable in helping me understand which specifications work best for different applications.
Why Starting Right Matters
The satisfaction of building something with your own hands is genuine, but it's greatly enhanced when the thing you've built actually looks good and works properly. Quality prepared timber helps bridge that gap between ambition and ability, giving you a proper foundation for creating projects you'll be genuinely proud to show people.
Whether you're building storage, furniture, or decorative features, starting with timber that's already been precisely prepared gives you a significant advantage. You're not fighting against the material—you're working with it. And that difference, I've discovered, is what separates projects that succeed from those that end up hidden in the shed.