When I first started learning about home insulation, I'll admit I was completely overwhelmed. There were boards, rolls, batts, and an entire world of accessories I'd never considered. Among these, one product stood out as surprisingly important yet often overlooked: insulation tapes. What seemed like a simple finishing touch turned out to be the difference between a truly energy-efficient home and one that quietly haemorrhages heat through preventable gaps.
If you're anything like I was—standing in the middle of your property wondering how to properly seal your insulation project—this guide will walk you through everything you need to know about selecting and using the right tapes for your UK home.
Understanding Why Proper Sealing Matters
Before diving into specific products, it's worth understanding why these tapes are so crucial. The UK's maritime climate means we face constant temperature fluctuations, persistent moisture, and those characteristic damp conditions that challenge even the best-installed insulation systems. Without proper sealing, your carefully chosen insulation boards can develop air leaks at joints and edges, significantly reducing their effectiveness.
Research shows that air leakage can account for up to 25% of heat loss in UK homes. When you've invested time and money installing quality insulation from trusted manufacturers like Celotex, Kingspan, or Knauf, the last thing you want is to undermine that investment with inadequate sealing. This is where specialist insulation tapes become essential—they're not just an afterthought, but a critical component of your home's thermal envelope.
The Different Types Available
During my research, I discovered that not all tapes are created equal. The market offers several distinct types, each designed for specific applications and conditions. Understanding these differences helps ensure you're selecting the right product for your particular project.
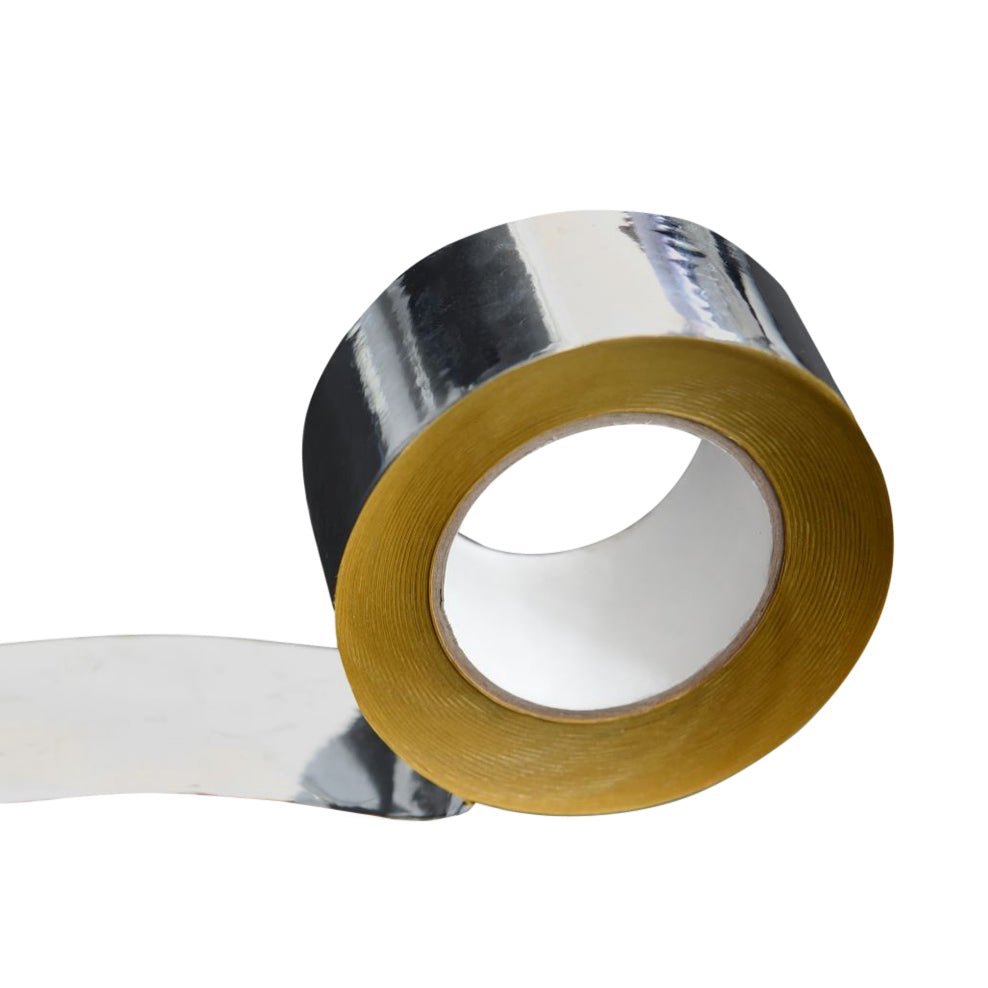
Foil-Faced Aluminium Tapes
These represent the most common choice for sealing rigid insulation boards. The aluminium foil surface provides an effective vapour barrier whilst offering excellent adhesion to foil-faced boards. British manufacturers like Pro Clima and Glidevale produce high-quality versions that maintain their integrity even in challenging conditions. What impressed me most was their ability to reflect radiant heat, adding an extra layer of thermal performance to your insulation system.
When selecting foil-faced options, look for products with acrylic adhesives rather than rubber-based alternatives. Acrylic formulations demonstrate superior long-term performance in the temperature ranges commonly experienced in UK lofts and cavity walls, typically maintaining adhesion from -40°C to +80°C.
Vapour Control Layer Tapes
If you're working with breathable membranes or creating vapour control layers, specialised tapes become necessary. These products are specifically engineered to bond with membrane materials whilst maintaining the overall vapour permeability of your insulation system. They're particularly important in warm roof constructions or when sealing around complex details like roof lights and wall penetrations.
The key characteristic of these tapes is their ability to accommodate slight movement without losing adhesion. UK buildings naturally experience thermal expansion and contraction, and your sealing system needs to move with the structure rather than failing under stress.
Breather Membrane Tapes
When sealing breather membranes in cold roof constructions, standard tapes won't suffice. Breather membrane tapes are specifically designed to bond with the particular materials used in these membranes whilst allowing necessary moisture vapour transmission. Products from manufacturers like Klober and Cromar have proven particularly reliable in UK applications, withstanding our climate's specific challenges.
Selecting the Right Tape for Your Project
With several options available, choosing the right product initially seemed daunting. However, I learned that a few key considerations make the selection process straightforward.
Consider Your Substrate Material
The surface you're sealing determines which adhesive formulation will work best. Foil-faced insulation boards require tapes designed for metallic surfaces, whilst plasterboard or timber substrates need different adhesive characteristics. When working with Celotex or Kingspan boards, for example, ensure your chosen tape specifically states compatibility with foil-faced materials.
Assess Environmental Conditions
The location of your installation significantly impacts tape performance. Loft spaces experience extreme temperature variations, from freezing winter conditions to summer temperatures exceeding 50°C under the roof tiles. Cavity walls face persistent moisture exposure. External applications need UV resistance. Each environment demands specific performance characteristics from your insulation tapes.
Evaluate Width Requirements
Tapes typically come in widths ranging from 50mm to 100mm. Whilst narrower tapes work for standard board joints, complex details and problem areas often benefit from wider options. I learned this the hard way on my first project—trying to seal an awkward junction with 50mm tape when 75mm would have provided much better coverage and security.
Proper Application Techniques
Having the right tape means nothing if application isn't done correctly. Through my own projects and guidance from experienced professionals, I've learned several critical techniques that ensure reliable, long-lasting seals.
Surface Preparation Cannot Be Rushed
This is perhaps the most important lesson I learned. Every surface must be completely clean, dry, and free from dust before applying any tape. Even in a dusty loft conversion, taking time to wipe down each joint with a clean cloth dramatically improves adhesion. Loose fibres, sawdust, or condensation can prevent proper bonding, creating gaps where air leakage occurs.
For particularly dusty environments, some installers recommend a light primer coat on board edges. Whilst this adds a step to the process, it can significantly improve long-term performance, especially in challenging applications.
Apply Consistent Pressure
Simply sticking tape down isn't sufficient. Applying firm, consistent pressure along the entire length ensures the adhesive makes full contact with the substrate. I use a plastic smoothing tool—similar to those used for wallpapering—to work along each joint, pressing firmly to ensure complete adhesion. This step is particularly important in cold conditions when adhesives are less pliable.
Overlap Correctly at Junctions
Where tapes meet at corners or junctions, proper overlapping prevents gaps. A minimum 50mm overlap at corners ensures continuous sealing, whilst cutting tapes at 45-degree angles creates neater, more reliable corner joints. These small details make significant differences to overall system performance.
Consider Installation Temperature
Most tapes have minimum application temperatures, typically around 5°C. Working in unheated spaces during winter often means installations must wait for milder conditions. Attempting to apply tape in freezing temperatures results in poor initial adhesion that often fails completely as temperatures fluctuate. If you must work in cold conditions, some manufacturers produce special low-temperature formulations designed for winter installations.
Common Mistakes to Avoid
Learning from others' mistakes saves considerable time and frustration. Several common errors can compromise even well-planned insulation projects.
Stretching Tape During Application
Pulling tape tight whilst applying it seems intuitive—you want good contact, after all. However, this creates internal stress that can cause the tape to lift or fail over time. Lay tape gently without stretching, allowing it to conform naturally to the surface.
Insufficient Coverage at Board Edges
Board edges need complete coverage to prevent air leakage. I initially made the mistake of centring tape over joints, leaving board edges partially exposed. Proper technique involves ensuring the tape extends fully onto both boards, typically positioning it so that slightly more tape sits on one board than the other, then pressing down firmly to create a complete seal.
Ignoring Manufacturer Specifications
Each product comes with specific installation guidelines regarding surface preparation, temperature ranges, and compatible materials. When working with products from Actis or similar manufacturers, following these specifications isn't optional—it's essential for warranty validity and performance assurance.
Long-Term Performance and Maintenance
Once installed, insulation tapes require minimal maintenance, but understanding their expected performance helps you plan appropriately. Quality products from reputable manufacturers typically maintain their effectiveness for 25-50 years when properly installed, matching the service life of the insulation they protect.
However, periodic inspection remains worthwhile, particularly in accessible areas like lofts. During routine inspections, look for signs of lifting, especially around complex details or penetrations. Catching minor failures early allows simple repairs before they develop into significant thermal bridges.
Making Your Investment Count
Quality insulation tapes represent a small fraction of your overall insulation project cost—typically accounting for less than 5% of total materials. Yet their impact on system performance far exceeds this modest investment. Choosing reliable products from established manufacturers ensures your insulation performs as designed throughout its service life.
At DIY Building Supplies, we've seen firsthand how proper sealing transforms insulation performance. Our experience helping countless DIY enthusiasts and trade professionals across the UK has taught us that success lies in combining quality materials with correct application techniques. Whether you're tackling a loft conversion in Manchester or upgrading wall insulation in a coastal property, the principles remain consistent: use appropriate products, prepare surfaces properly, and take time to ensure complete coverage.
Your Next Steps
Starting an insulation project needn't be overwhelming. Begin by identifying your specific application—loft insulation, cavity walls, or perhaps a warm roof construction. This determines which type of tape you need. Measure your requirements carefully, remembering that it's always better to have slightly too much than to run short mid-project.
If you're uncertain about which products best suit your project, our experienced team can provide guidance tailored to your specific situation. We understand that every property presents unique challenges, and we're committed to ensuring you have both the right materials and the knowledge to use them effectively.
Remember, successful insulation isn't just about the boards themselves—it's about creating a complete, sealed system that performs efficiently for decades to come. Those seemingly simple rolls of tape play a vital role in achieving that goal.